Microsoft Authentication Library or MSAL is a library that enables web applications to authenticate users against Azure Active Directory (AAD). This setup can be crucial for applications requiring secure identity management and access control, especially within organizations using Microsoft services.
MSAL JS library supports protocols such as OAuth2 and OpenID Connect, making it easier to implement for web applications.
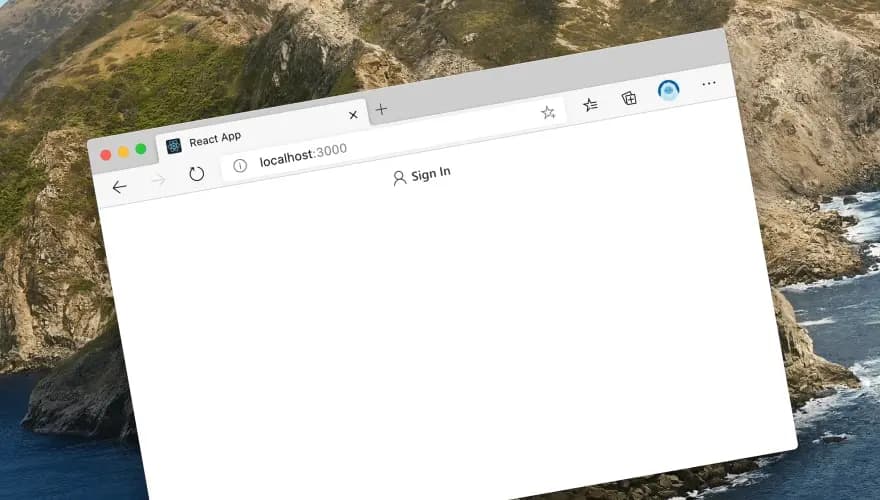
So let's begin.
Registering Your Application with Azure AD
First, you need to register your application with Azure AD to obtain valid credentials for authentication.
- Sign into the Azure Portal: Navigate to Azure Portal.
- Create a New App Registration: Go to Azure Active Directory > App registrations > New registration. Make sure you select SPA applications.
- Configure Redirect URIs: For development, and in my case, I used
http://localhost:3000/. Ensure not to enable Implicit Grant or Hybrid Flows.

Setting Up Your Next.js Project
Initialize a new Next.js project if you haven't already:
npx create-next-app msal-next-auth --use-npm
cd msal-next-auth
npm install @azure/msal-react @azure/msal-browser
Configuring MSAL in Your Next.js App
Create a configuration file for MSAL and initialize the MSAL instance.
In my case I created a file named msal.js in services/ directory:
import { PublicClientApplication } from '@azure/msal-browser'

const msalConfig = {
  auth: {
    clientId: process.env.NEXT_PUBLIC_AZURE_AD_CLIENT_ID,
    authority: `https://login.microsoftonline.com/${process.env.NEXT_PUBLIC_AZURE_AD_TENANT_ID}`,
    redirectUri: process.env.NEXT_PUBLIC_REDIRECT_URI,
  },
}

const msalInstance = new msal.PublicClientApplication(msalConfig)
export { msalInstance }
Ensure you have set the environment variables in .env.local:
NEXT_PUBLIC_AZURE_AD_CLIENT_ID=your-client-id
NEXT_PUBLIC_AZURE_AD_TENANT_ID=your-tenant-id
NEXT_PUBLIC_REDIRECT_URI=/
Note that the redirectUri should match the one you configured in Azure AD.
Also, note that NEXT_PUBLIC env vars (browser env vars) are being applied only in during build time and not in runtime. Which means if these env vars are environment dependent, you should take it into account in your CI that handles the application build and deployment.
Next, Modify _app.js to Use MSAL Provider:
import { MsalProvider } from '@azure/msal-react'
import { msalInstance } from '@/services/msal'
import '.@/styles/globals.css'

function MyApp({ Component, pageProps }) {
  return (
    <MsalProvider instance={msalInstance}>
      <Component {...pageProps} />
    </MsalProvider>
  )
}

export default MyApp
Adding Authentication to Your Pages
Here you can use MSAL React hooks which makes your life easier and add authentication functionality.
For example, in pages/index.js:
import {
  AuthenticatedTemplate,
  UnauthenticatedTemplate,
  useMsal,
} from '@azure/msal-react'
import React from 'react'

function SignInButton() {
  const { instance } = useMsal()
  return <button onClick={() => instance.loginRedirect()}>Sign In</button>
}

function WelcomeUser() {
  const { accounts } = useMsal()
  const username = accounts[0]?.name || 'Guest'
  return <p>Welcome, {username}</p>
}

export default function Home() {
  return (
    <div>
      <AuthenticatedTemplate>
        <WelcomeUser />
      </AuthenticatedTemplate>
      <UnauthenticatedTemplate>
        <SignInButton />
      </UnauthenticatedTemplate>
    </div>
  )
}
Note that you can use the token acquired from MSAL to call your API with authentication header (if required) or use any other attribute from the token object such as name from the example.
You can also use the useIsAuthenticated hook to check if the user is authenticated and show different content accordingly.
import { useIsAuthenticated } from '@azure/msal-react'

export default function Home() {
  const isAuthenticated = useIsAuthenticated()
  return <div>{isAuthenticated ? <WelcomeUser /> : <SignInButton />}</div>
}
In one of my projects at work I created a custom hook to use the token in the API calls:
import { useMsal } from '@azure/msal-react'

export const useAccessToken = () => {
  const { instance, accounts } = useMsal()
  const account = accounts[0]

  const getAccessToken = async () => {
    try {
      const request = {
        scopes: [`${process.env.NEXT_PUBLIC_CLIENT_ID}/.default`],
        account: account,
        redirectUri: '/',
      }

      const response = await instance.acquireTokenSilent(request)
      return response.accessToken
    } catch (error) {
      console.log('error', error)
      if (error instanceof InteractionRequiredAuthError) {
        instance.acquireTokenRedirect(request)
      } else {
        throw error
      }
    }
  }

  return getAccessToken
}
And just for the sake of the example, one of components which uses the the custom hook which fetches the accessToken from AAD and sending as Authentication header in one if its API calls:
import React, { useState, useEffect } from 'react';
import { useMsal } from '@azure/msal-react';

import { useAccessToken } from '@hooks/useToken';

const DeviceTable = () => {
  const getAccessToken = useAccessToken();
  const [regions, setRegions] = useState({});
  const [error, setError] = useState(null);

  useEffect(() => {
    let apiUrl = '';

    const fetchConfigAndData = async () => {
      try {
        const accessToken = await getAccessToken();

        const regionsData = await fetch(`${apiUrl}/api/v1/devices`, {
          headers: {
            'Authorization': `Bearer ${accessToken}`
          }
        }).then(res => res.json());
        setRegions(regionsData);
      } catch (error) {
        setError(error);
      }
    };

    fetchConfigAndData();
  }, []);
Keep in mind that i'm not an experienced frontend developer, so the code above might not be the best practice, but it works for me. I'll be happy to hear your feedback and suggestions. I'm mostly available on Linkedin.


